Aufgrund des fortwährenden Dranges ein Projekt mit WS2812B LEDs umzusetzen, kam mir die Idee, dass Bobby-Car meiner Tochter ein bisschen „aufzuhübschen“ 🙂
Ob Sinn oder Unsinn darf jeder selber entscheiden, aber es war ein tolles Projekt und ich konnte meine gesteckten Ziele erreichen.
Inhaltsverzeichnis
Aufgabenstellung
Welche Aufgaben galt es also zu bewältigen?
- Portable muss es sein
- Auf Basis von Arduino
- Einfache Steuerung
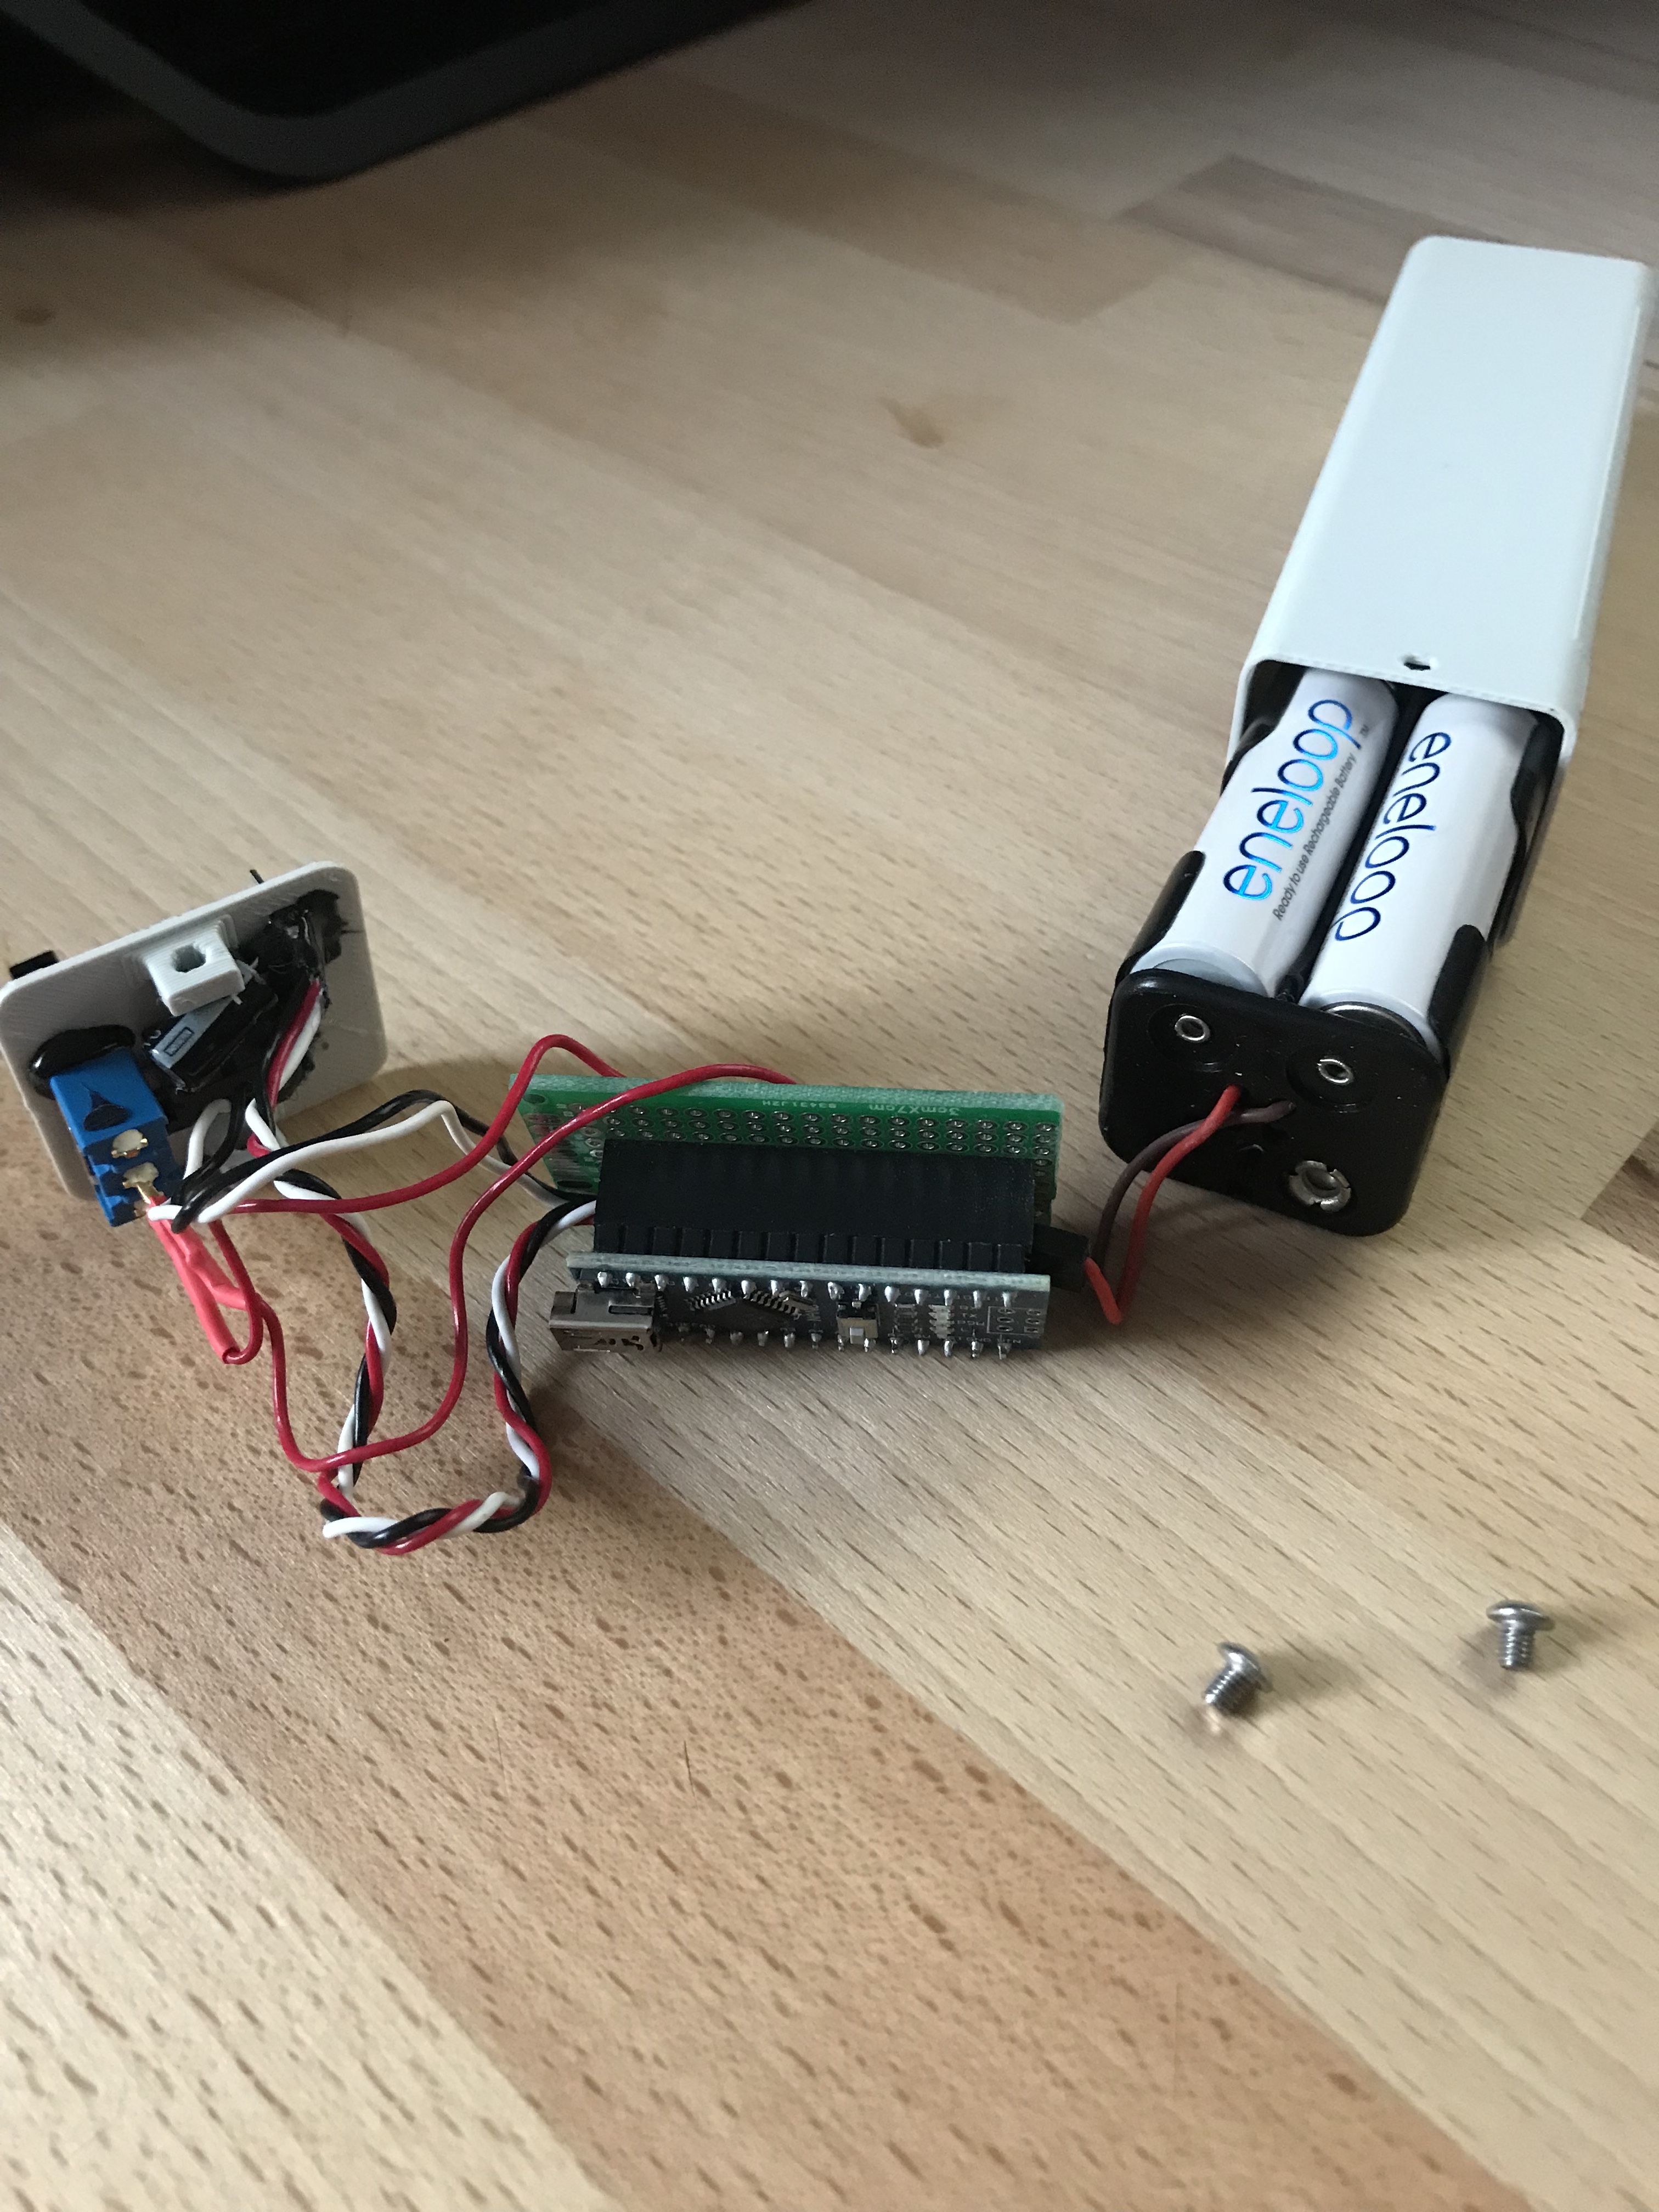
- Versorgt durch vier AA Eneloop Batterien
Stückliste
| Baugruppe | Anzahl | Beschreibung | Link | Einzelpreis (Euro) | Summe (Euro) |
|---|---|---|---|---|---|
| Powerbox | 1 | 3D gedrucktes Gehäuse | 3D-Druck | - | - |
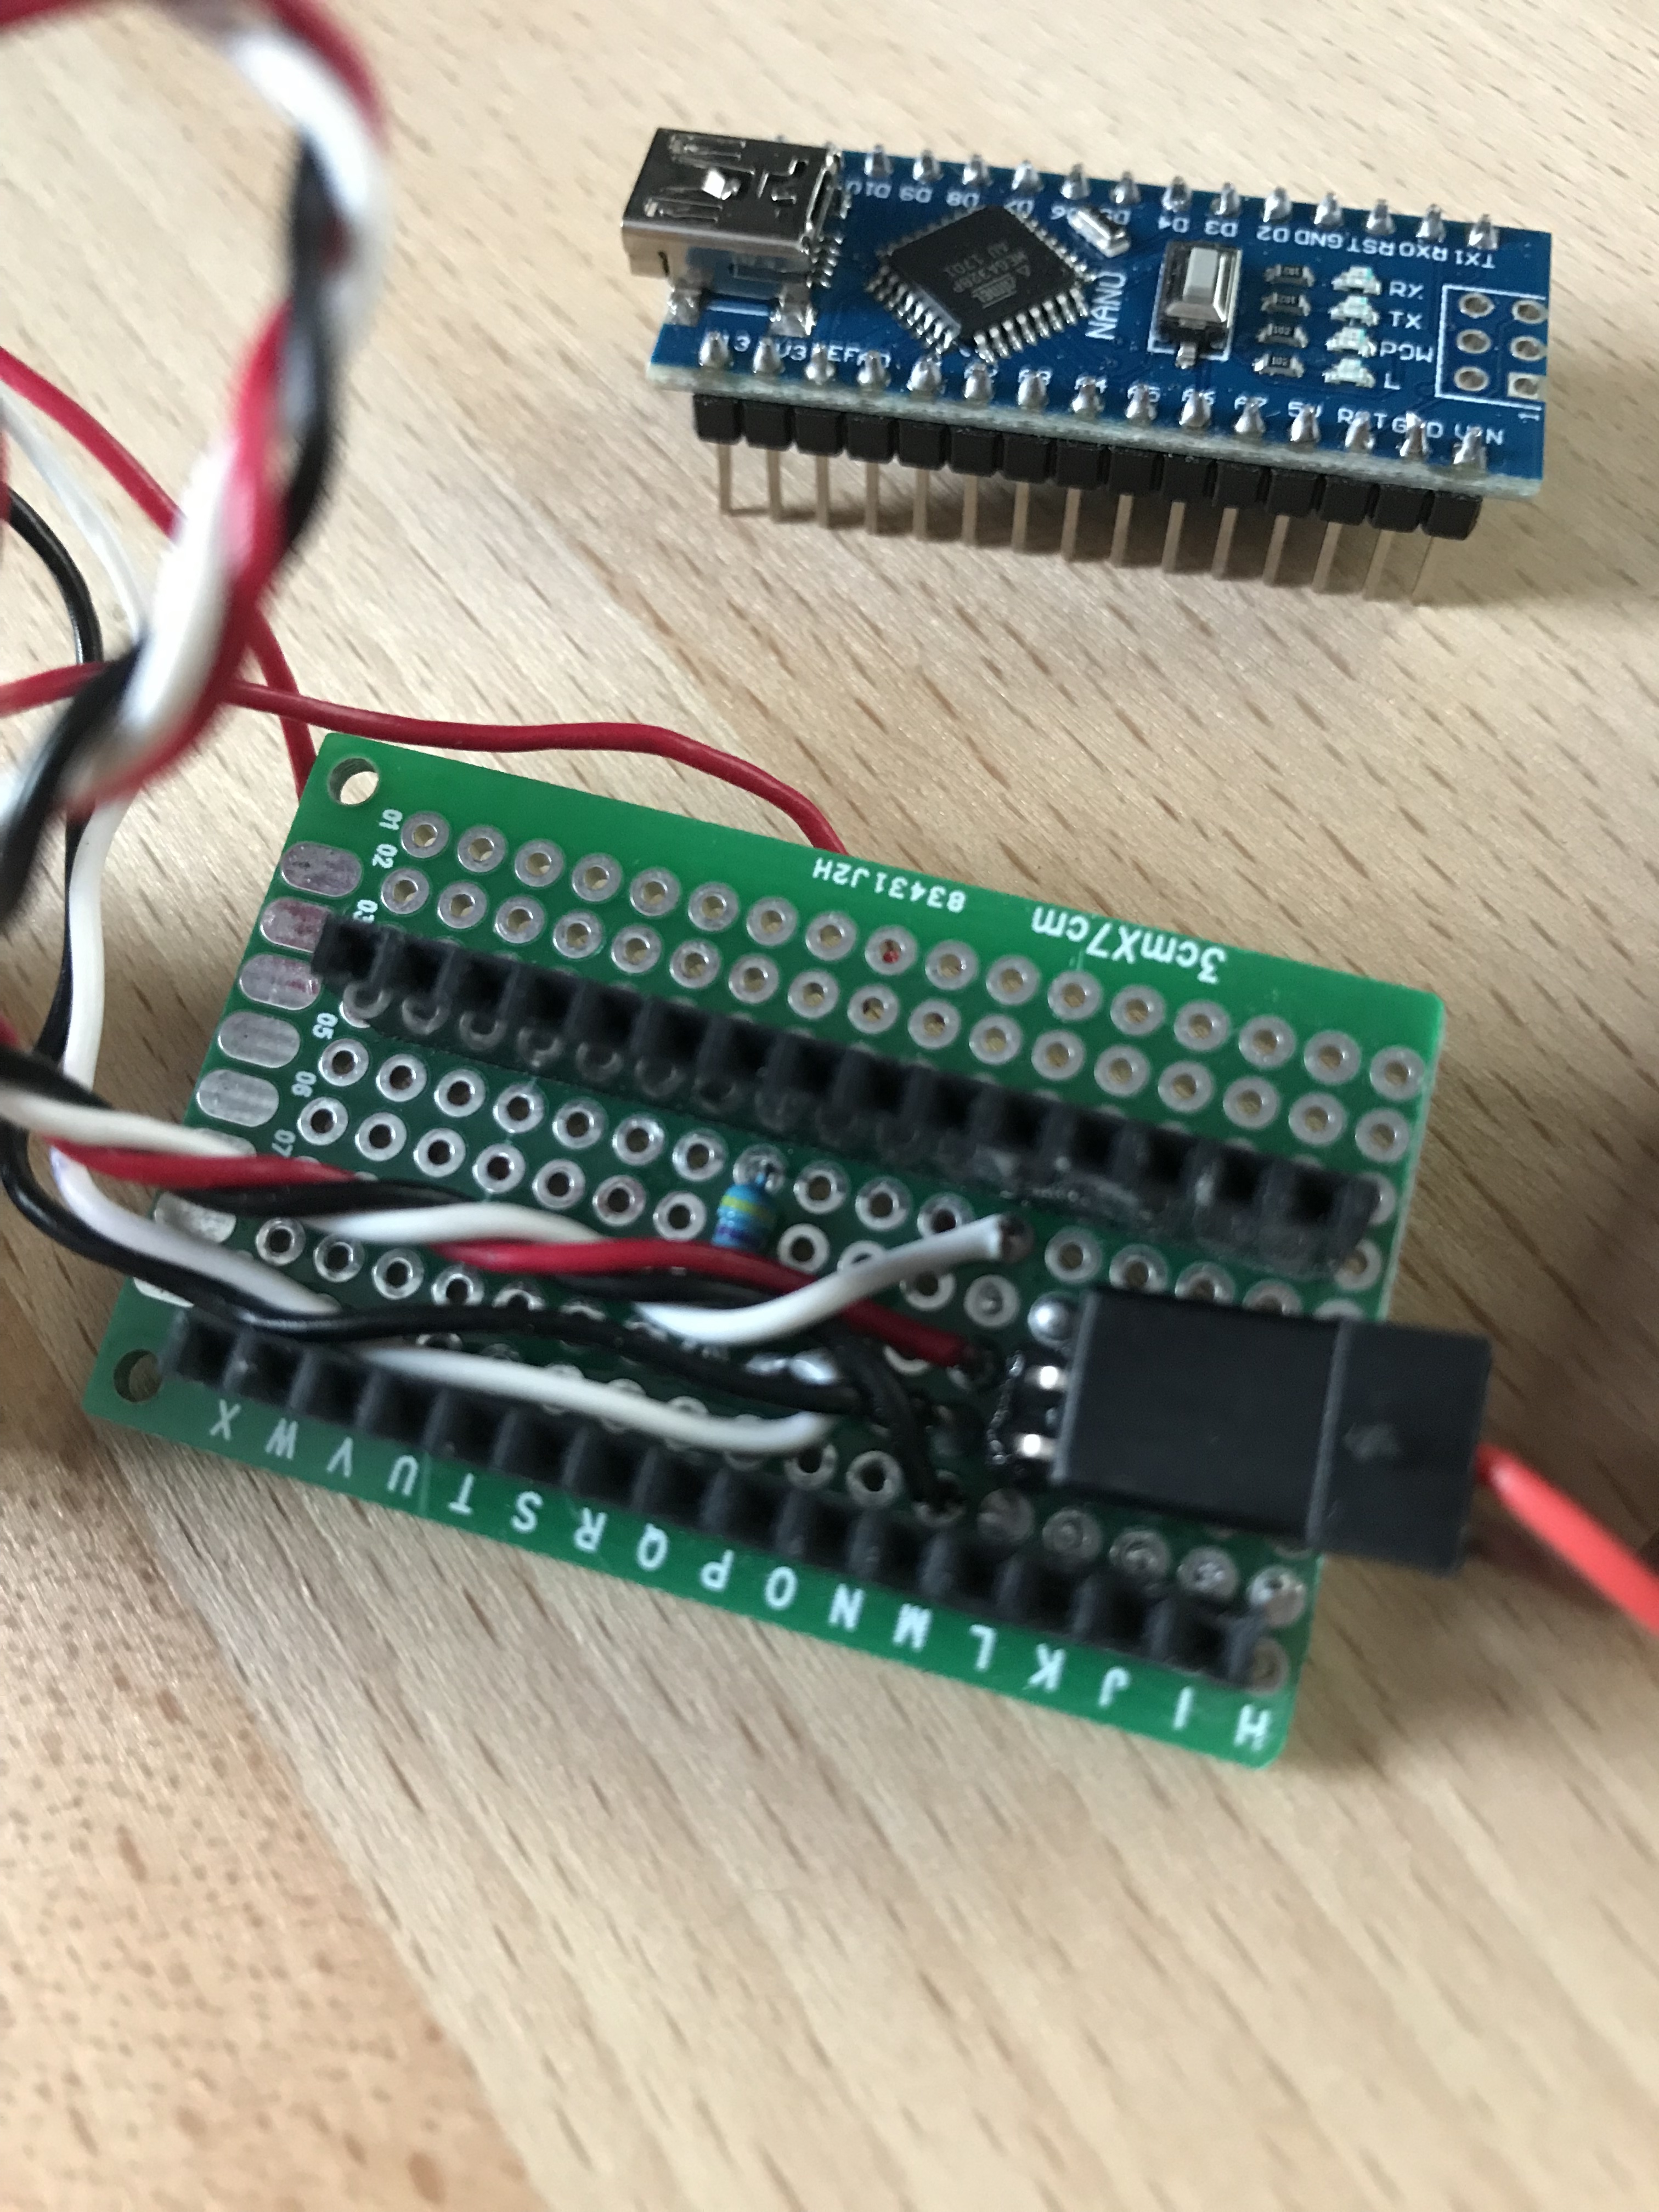
| 1 | Arduino Nano | Gearbest | - | 4,00 | |
| 1 | 10V 330uf Kondensator | Bestand | - | - | |
| 1 | 300 Ohm Widerstand | Bestand | - | - | |
| 1 | Div. Kabel | Bestand | - | - | |
| 1 | Lochrasterplatine | Gearbest | - | 1,50 | |
| 1 | Vierach AA Batteriehalter | Gearbest | - | 1,00 | |
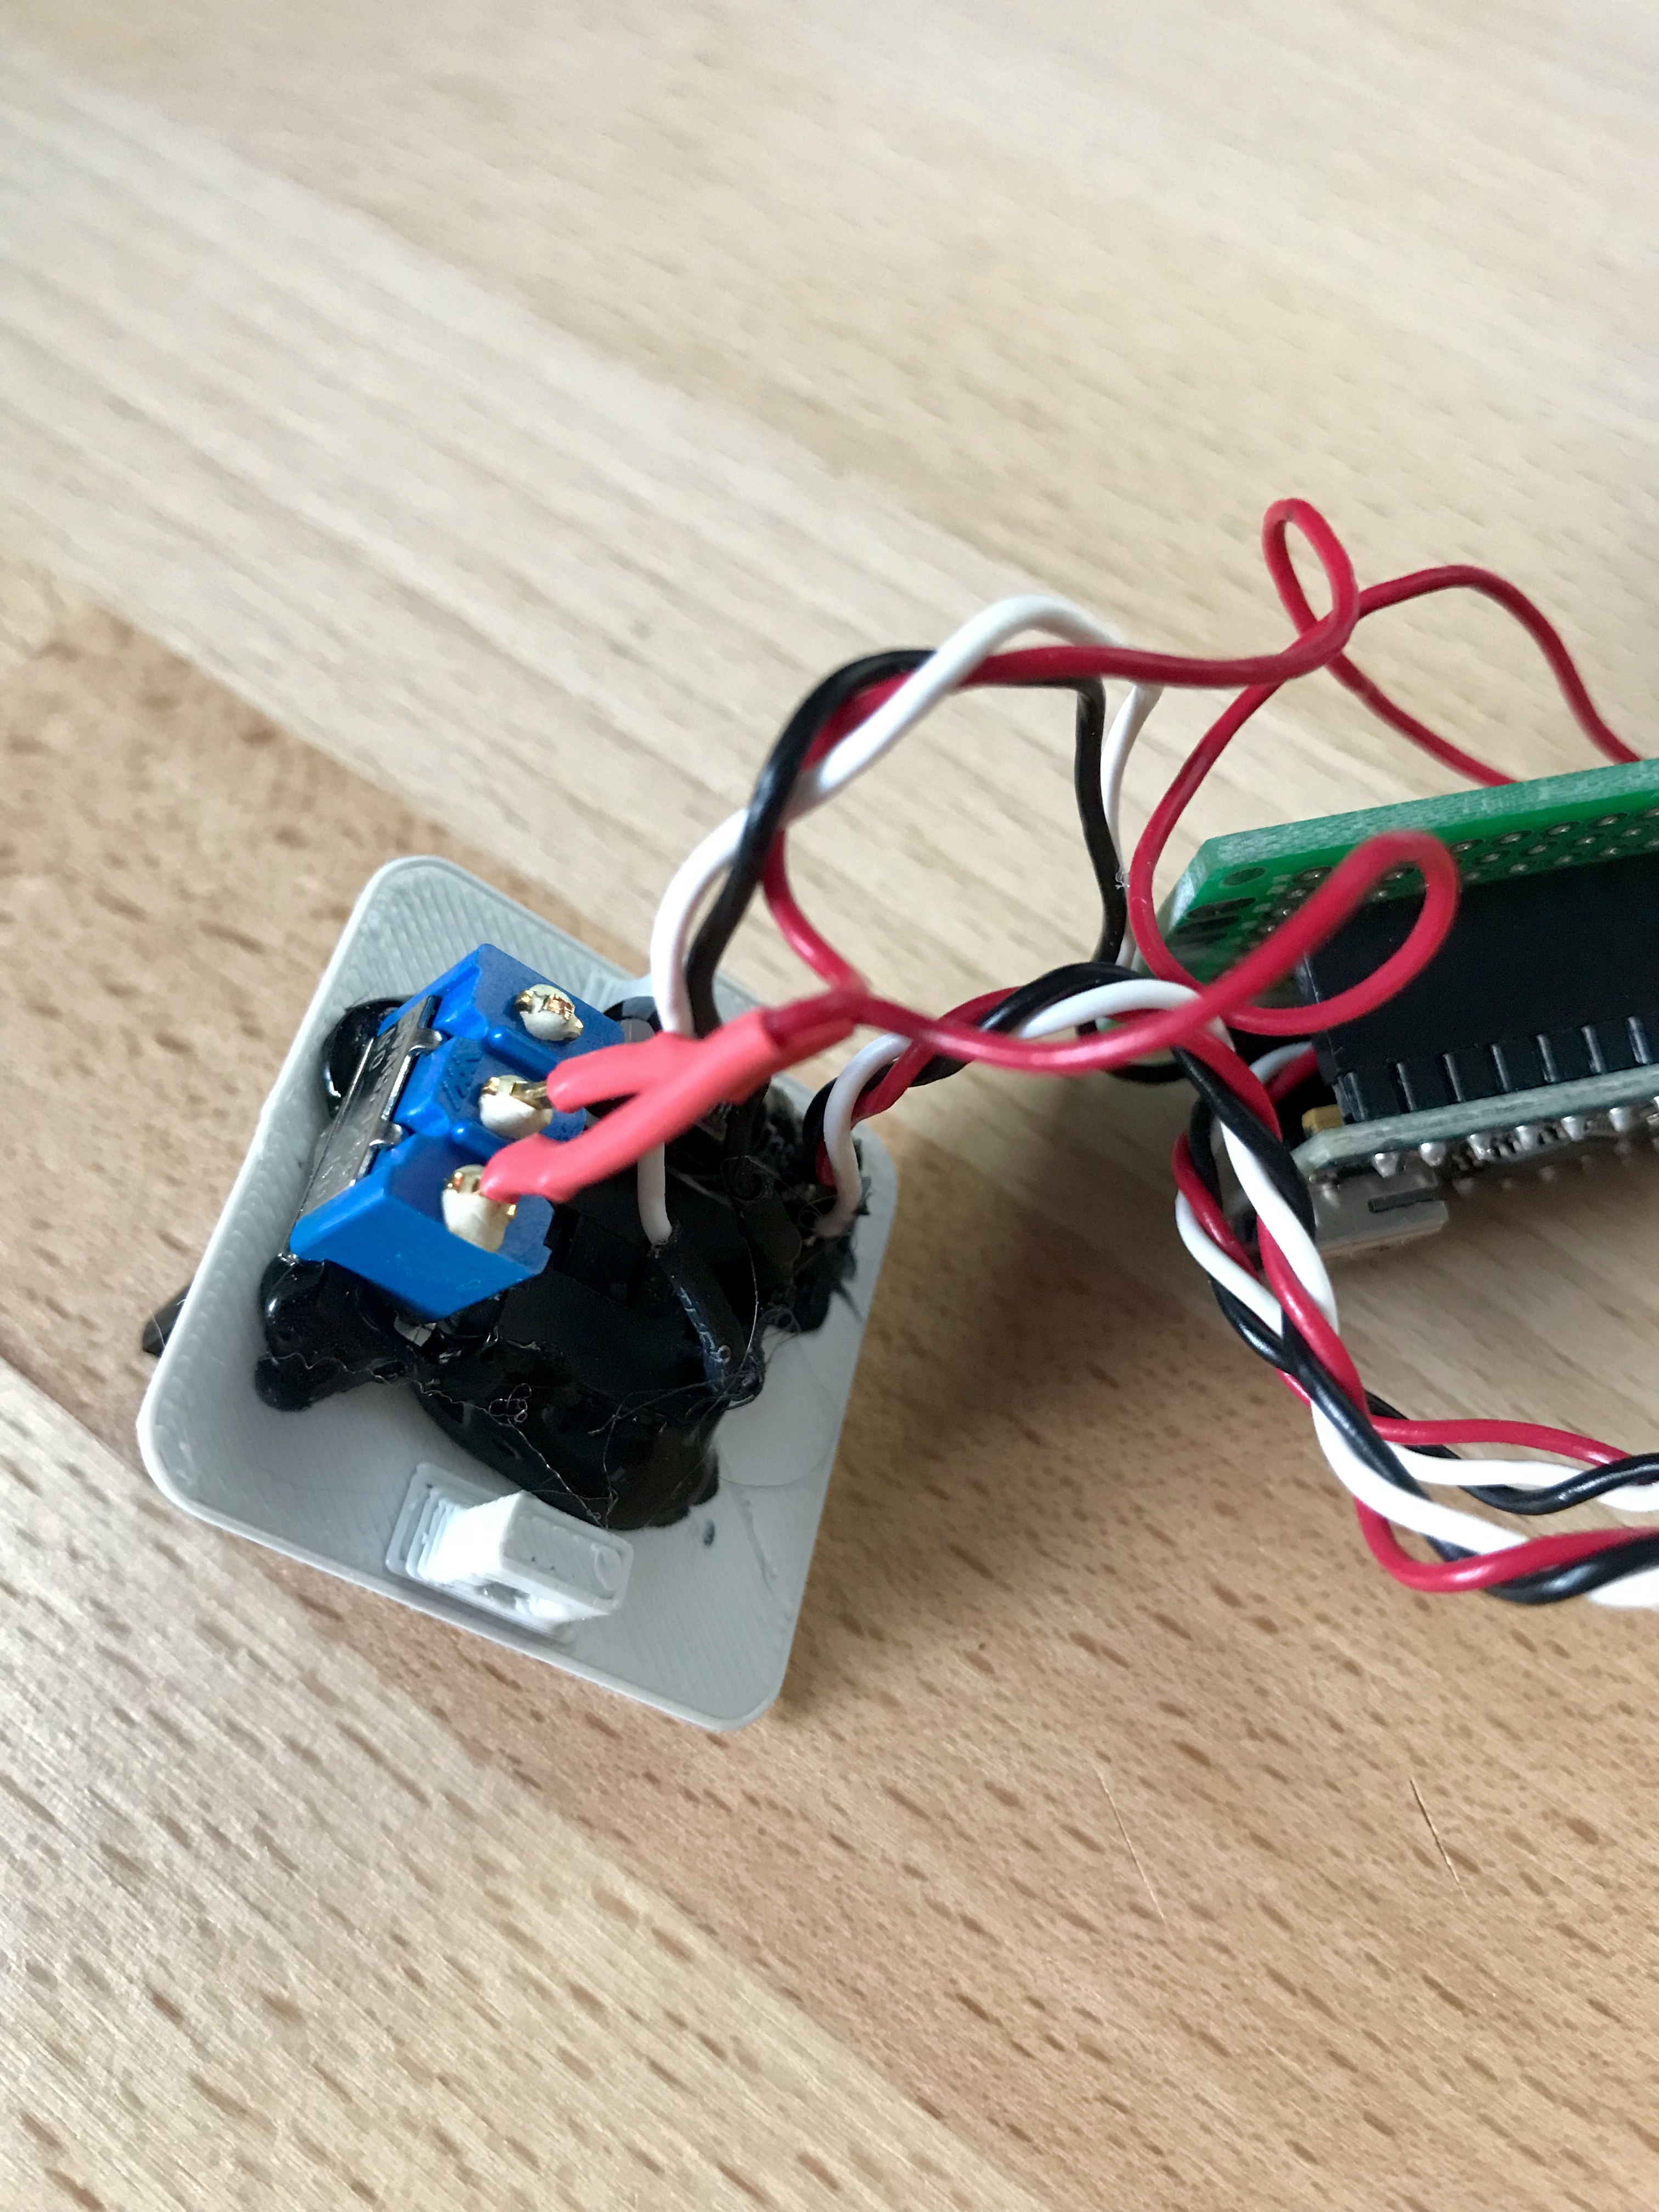
| 1 | Ein-/Ausschalter | Bestand | - | - | |
| 1 | Drucktaster | Bestand | - | - | |
| 2 | M3 x 5mm Schrauben | Bestand | - | - |
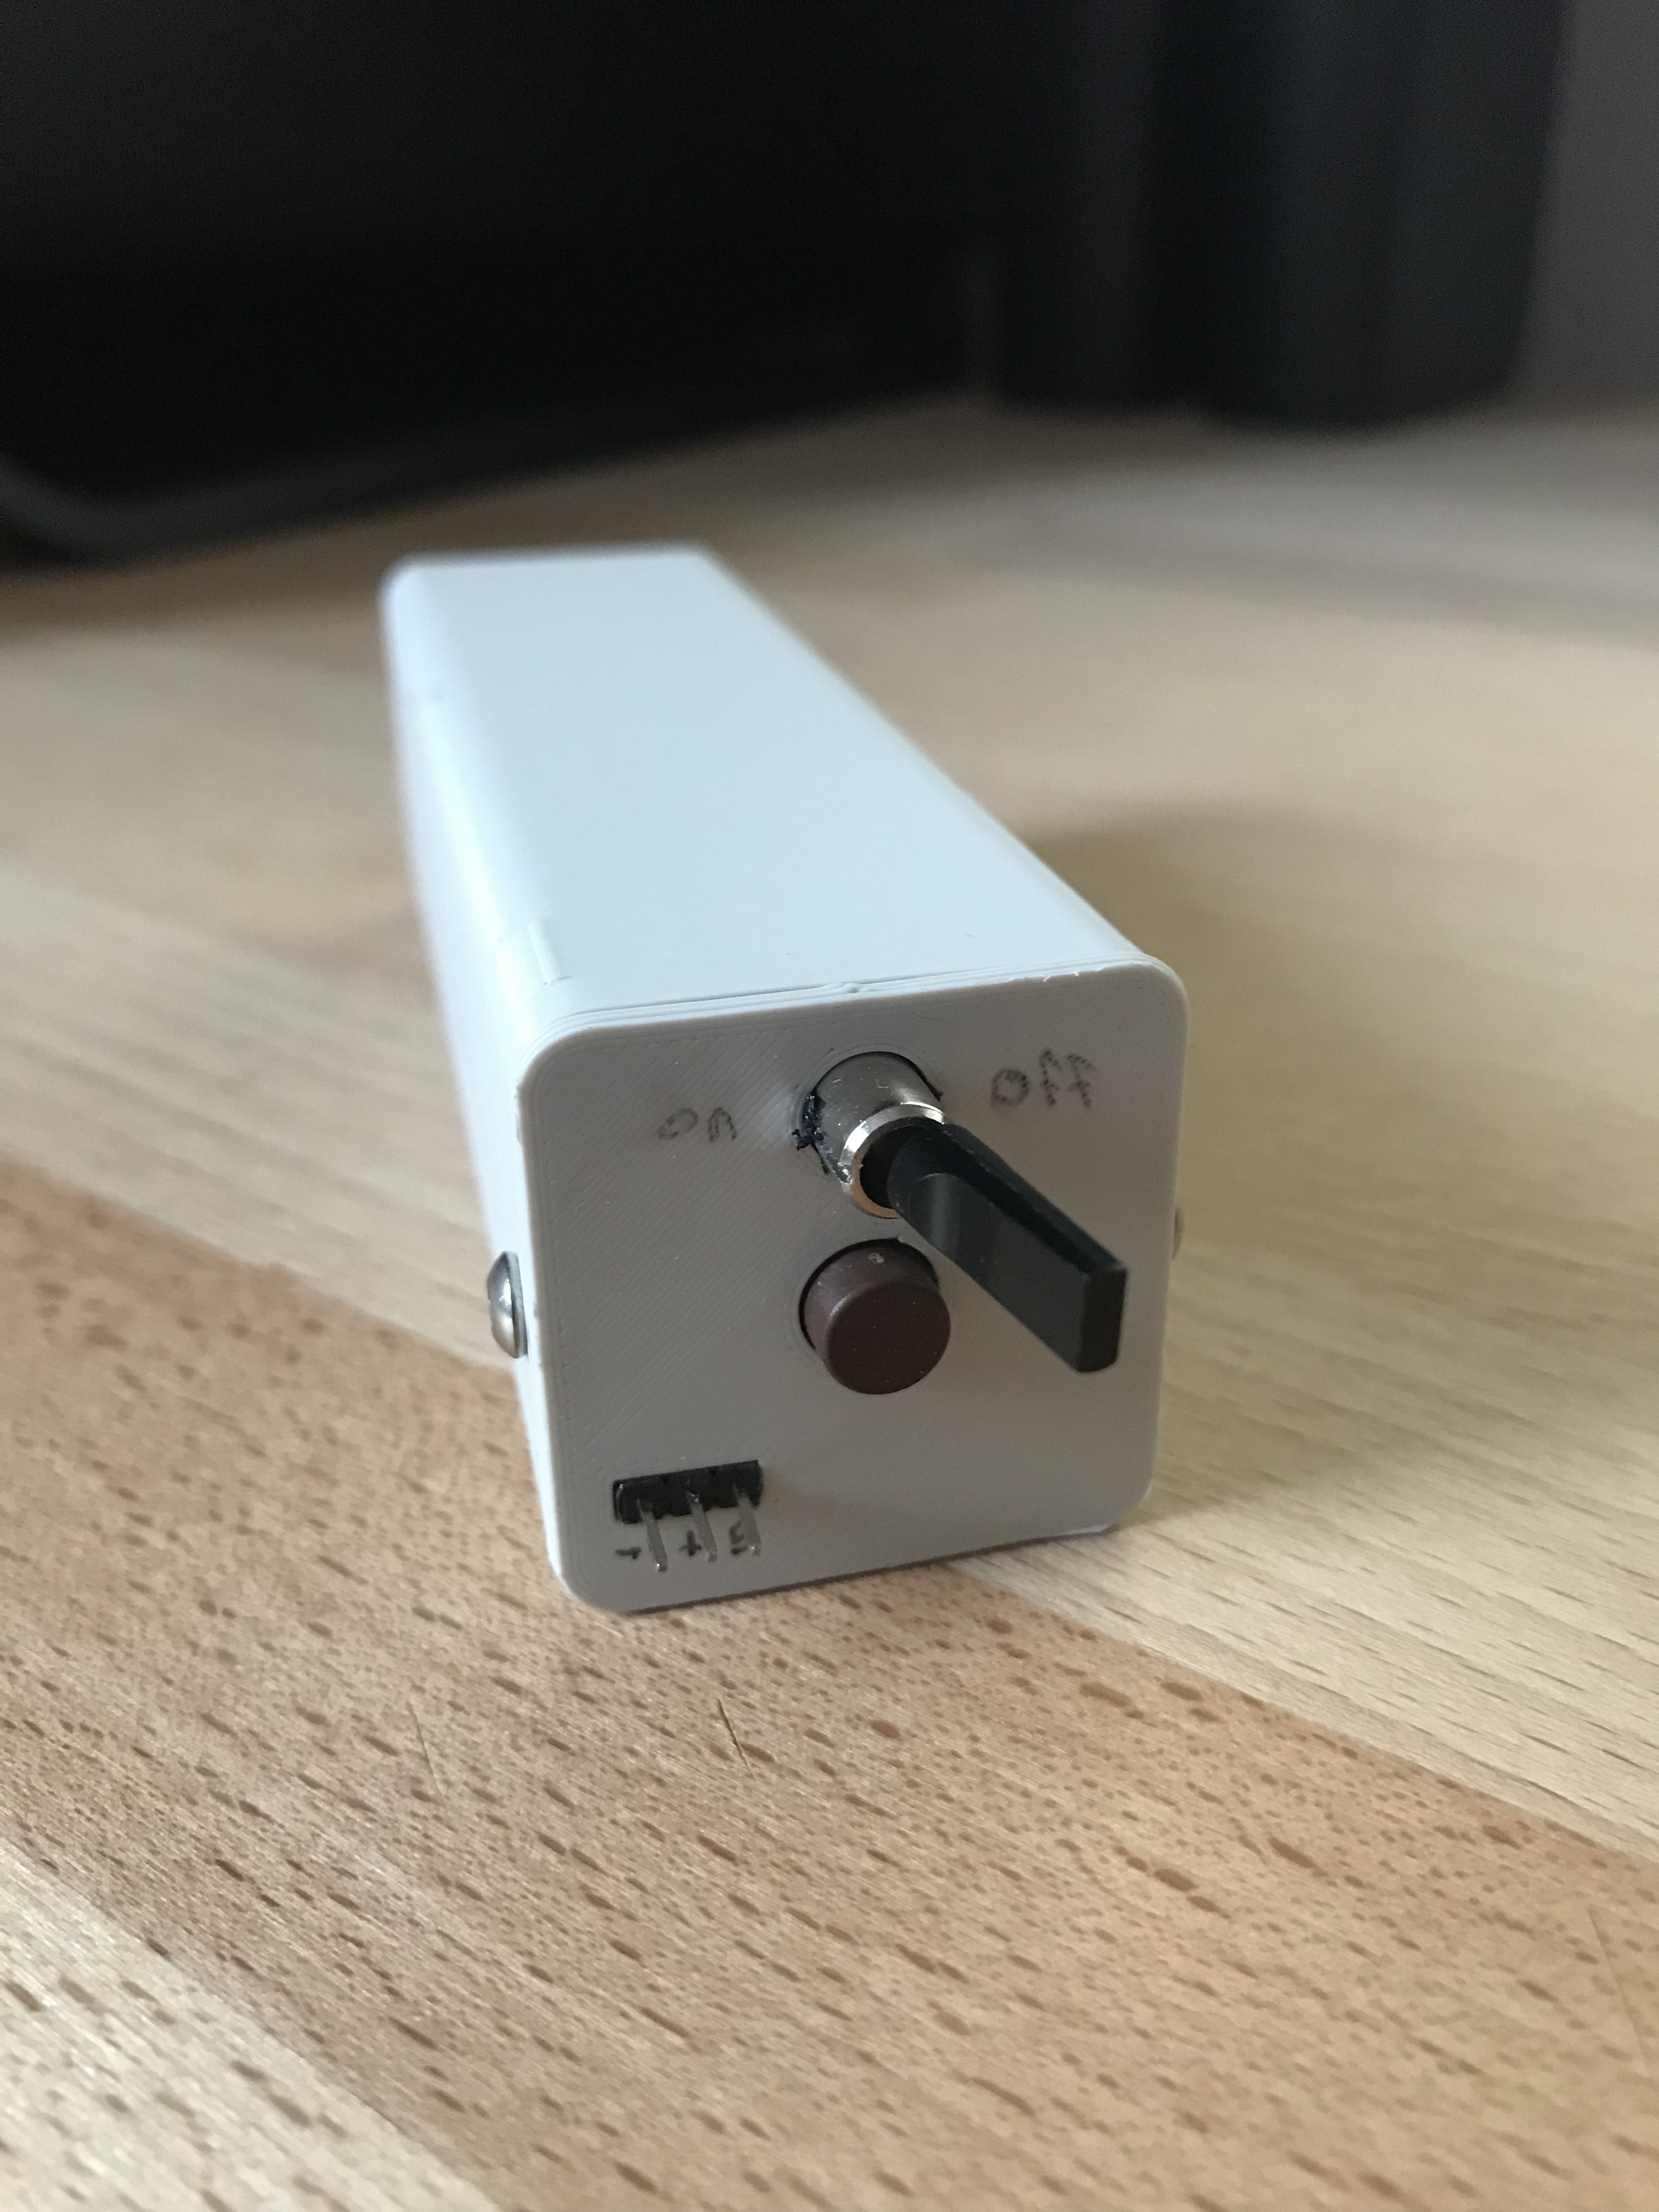
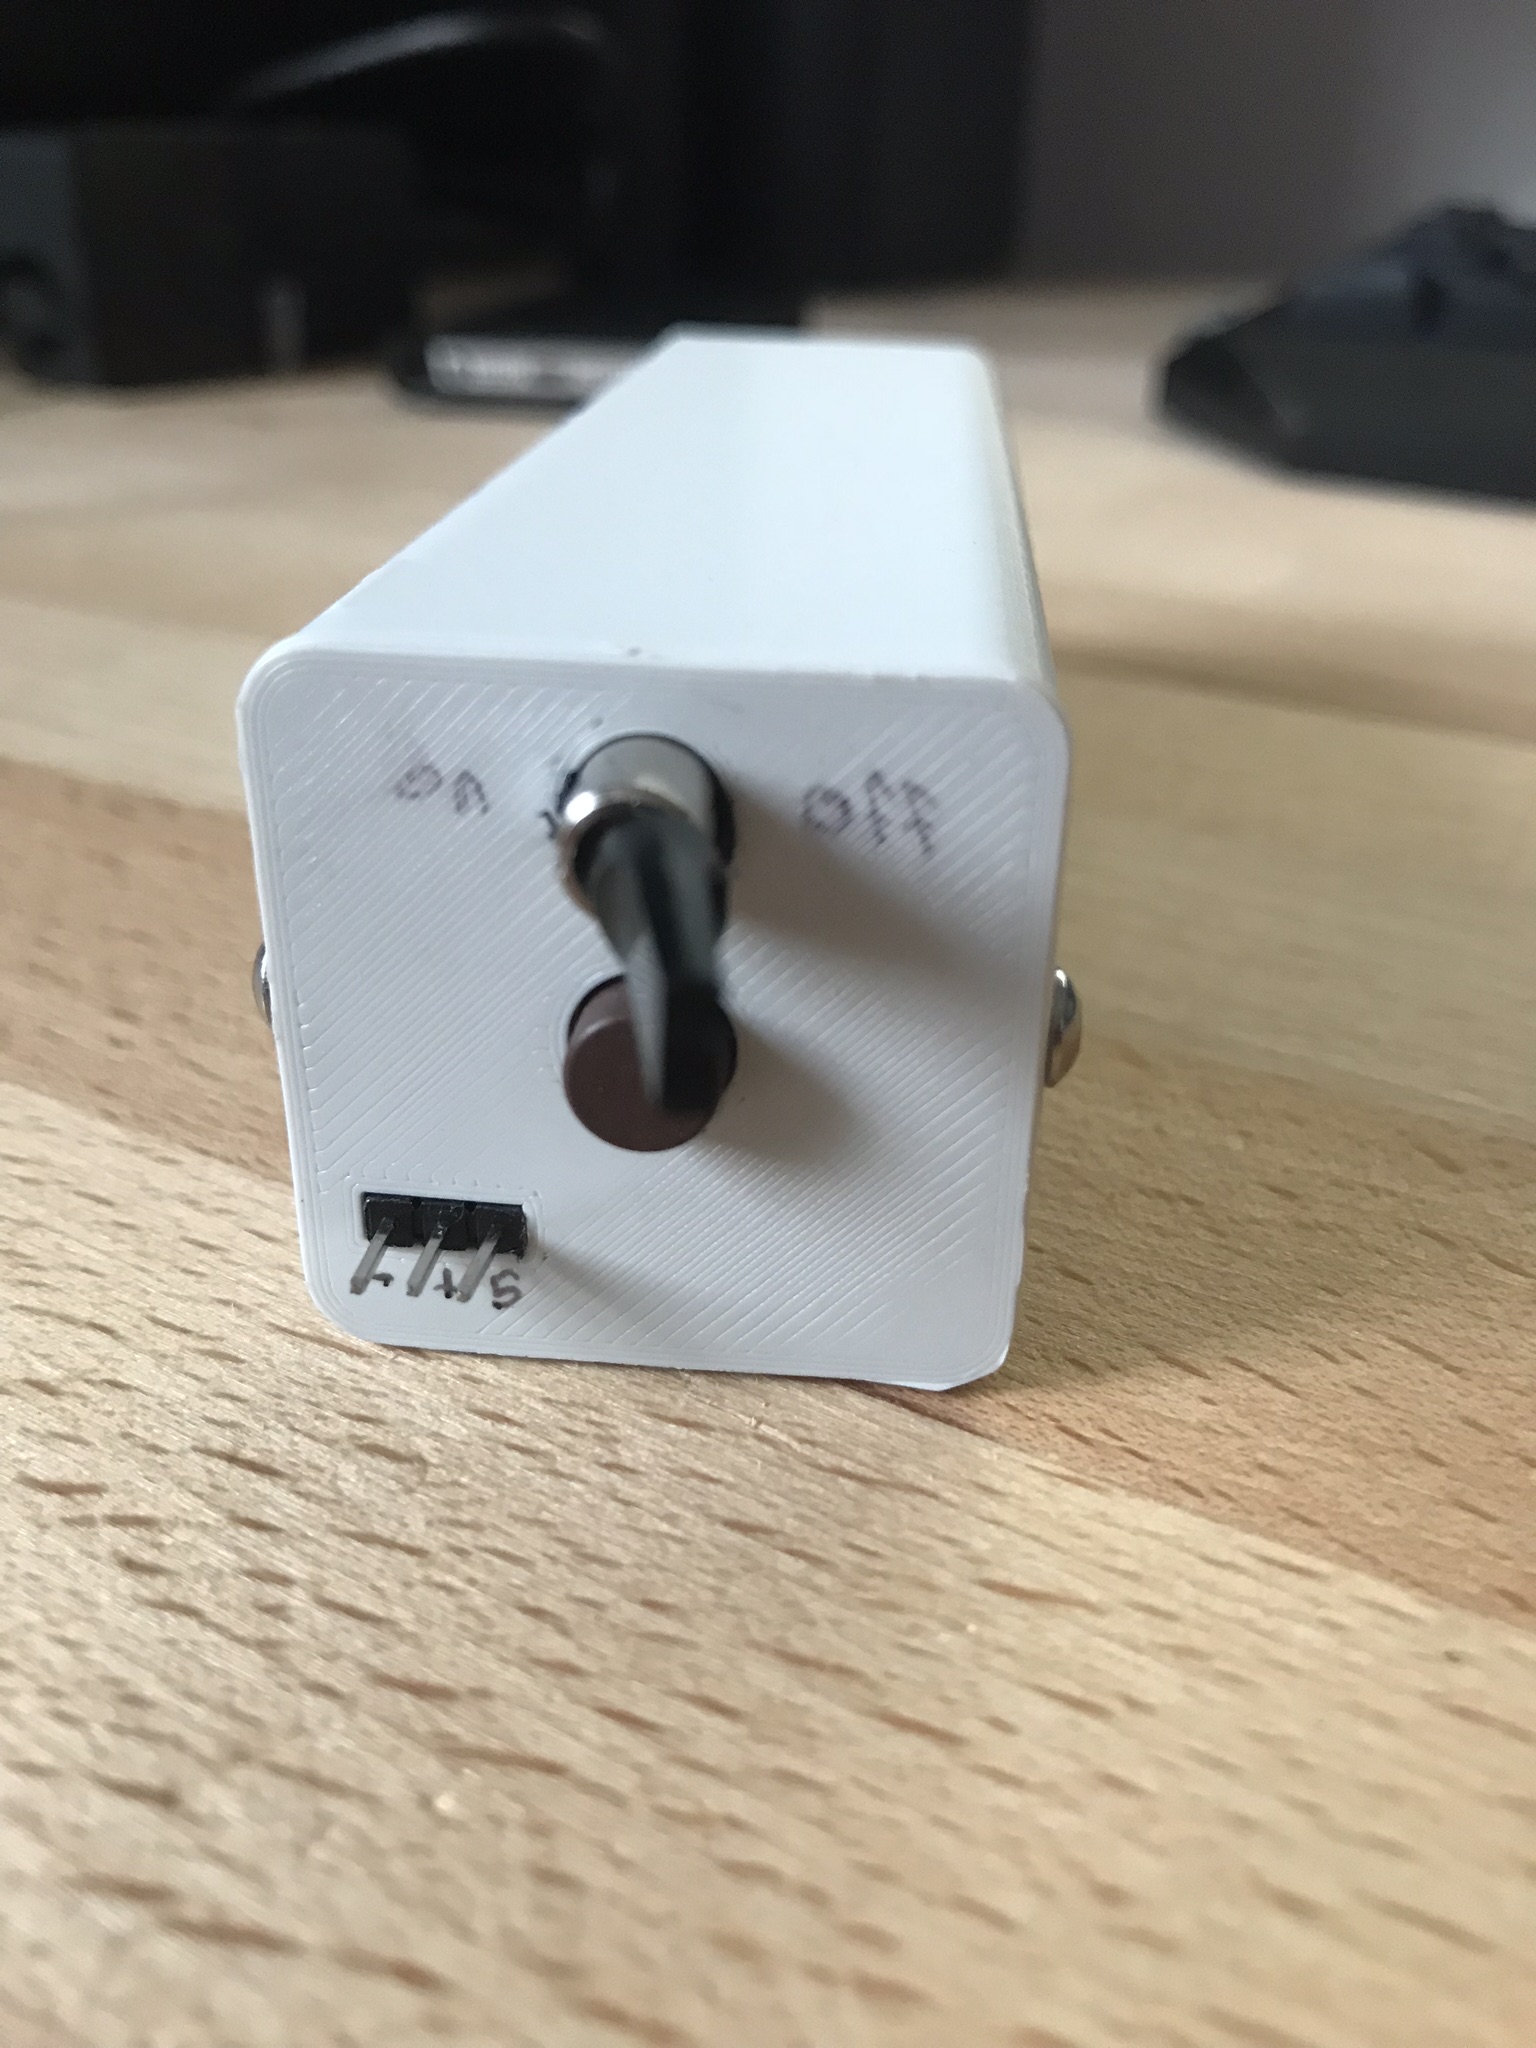
Gehäuse
So entstand das Gehäuse mittels Inventor und dem geliebten Messschieber.
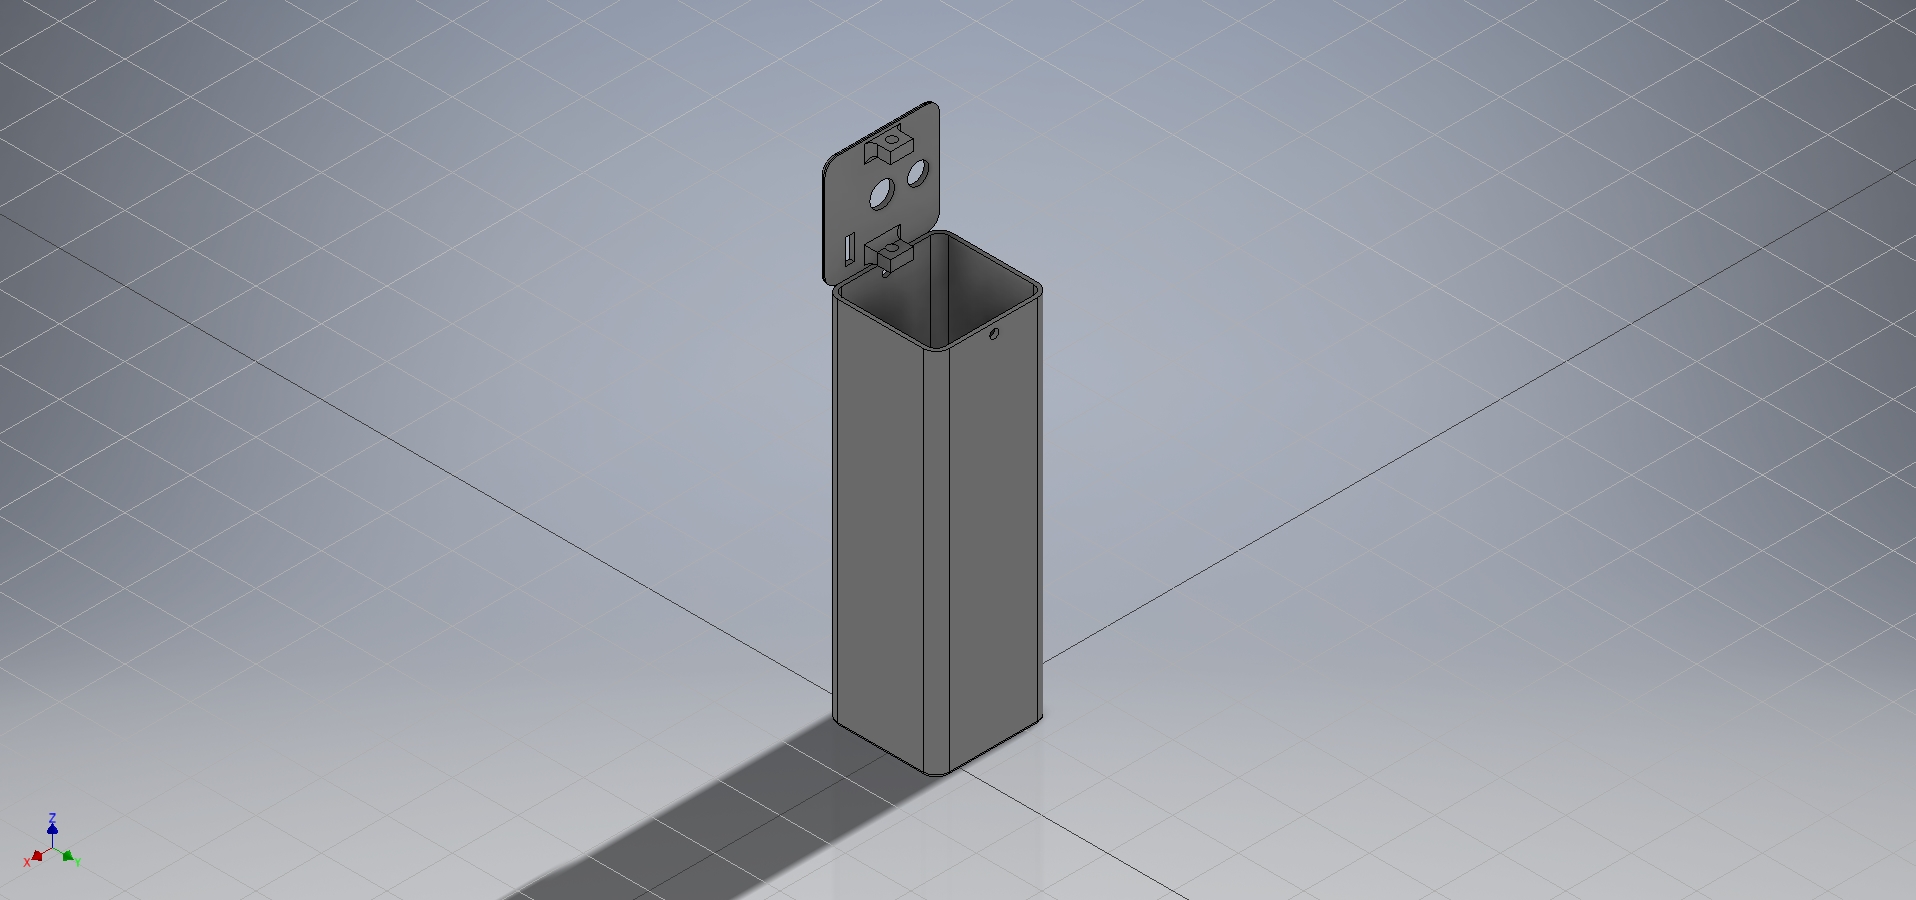
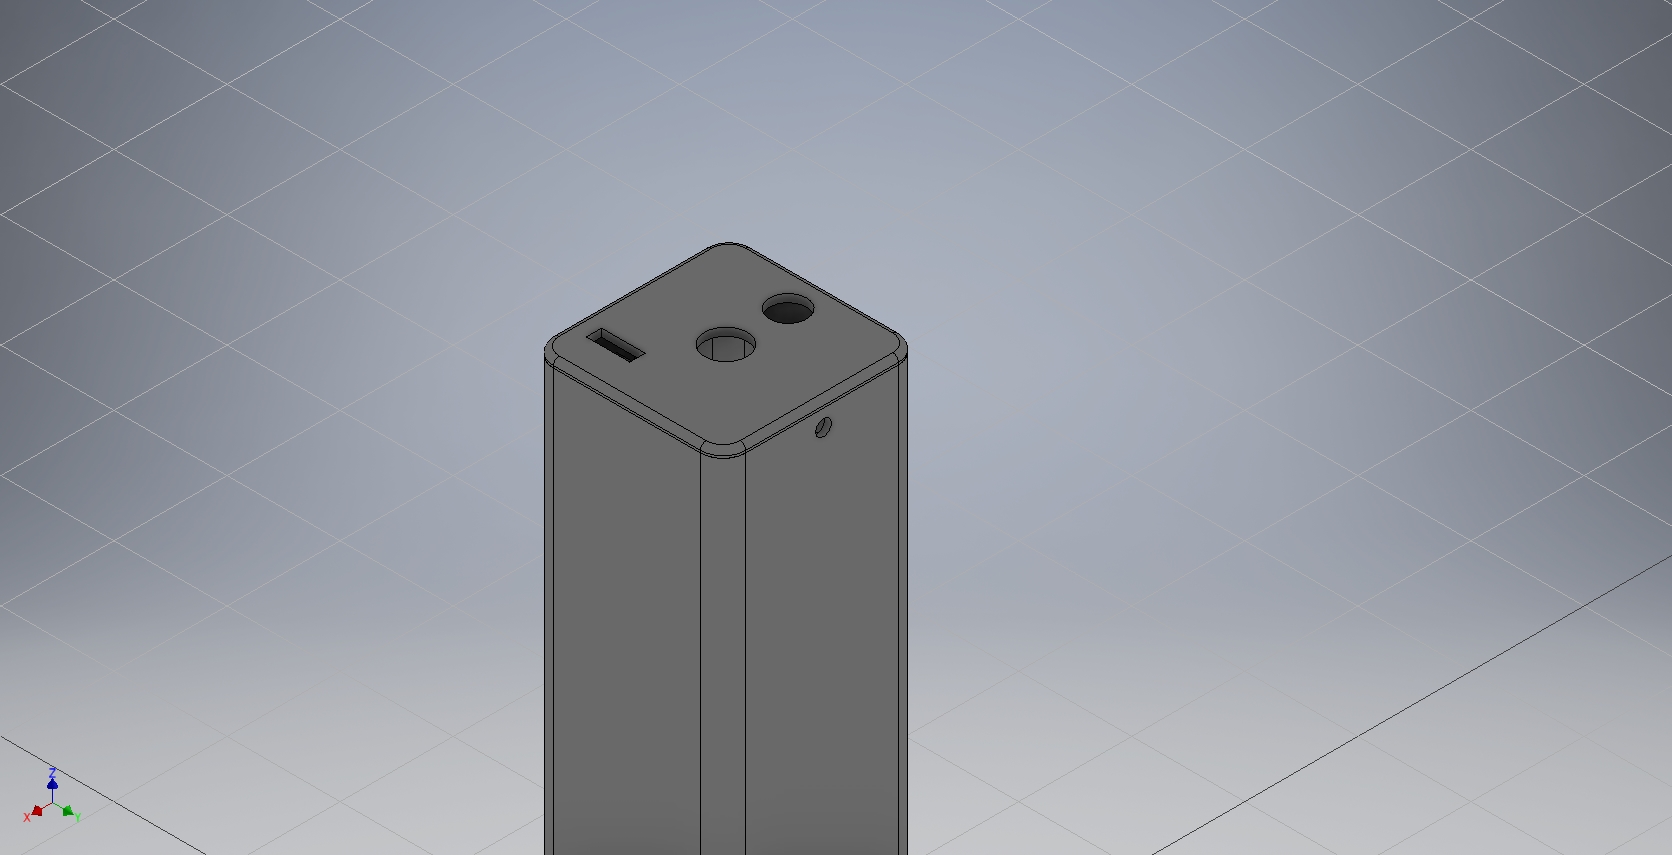
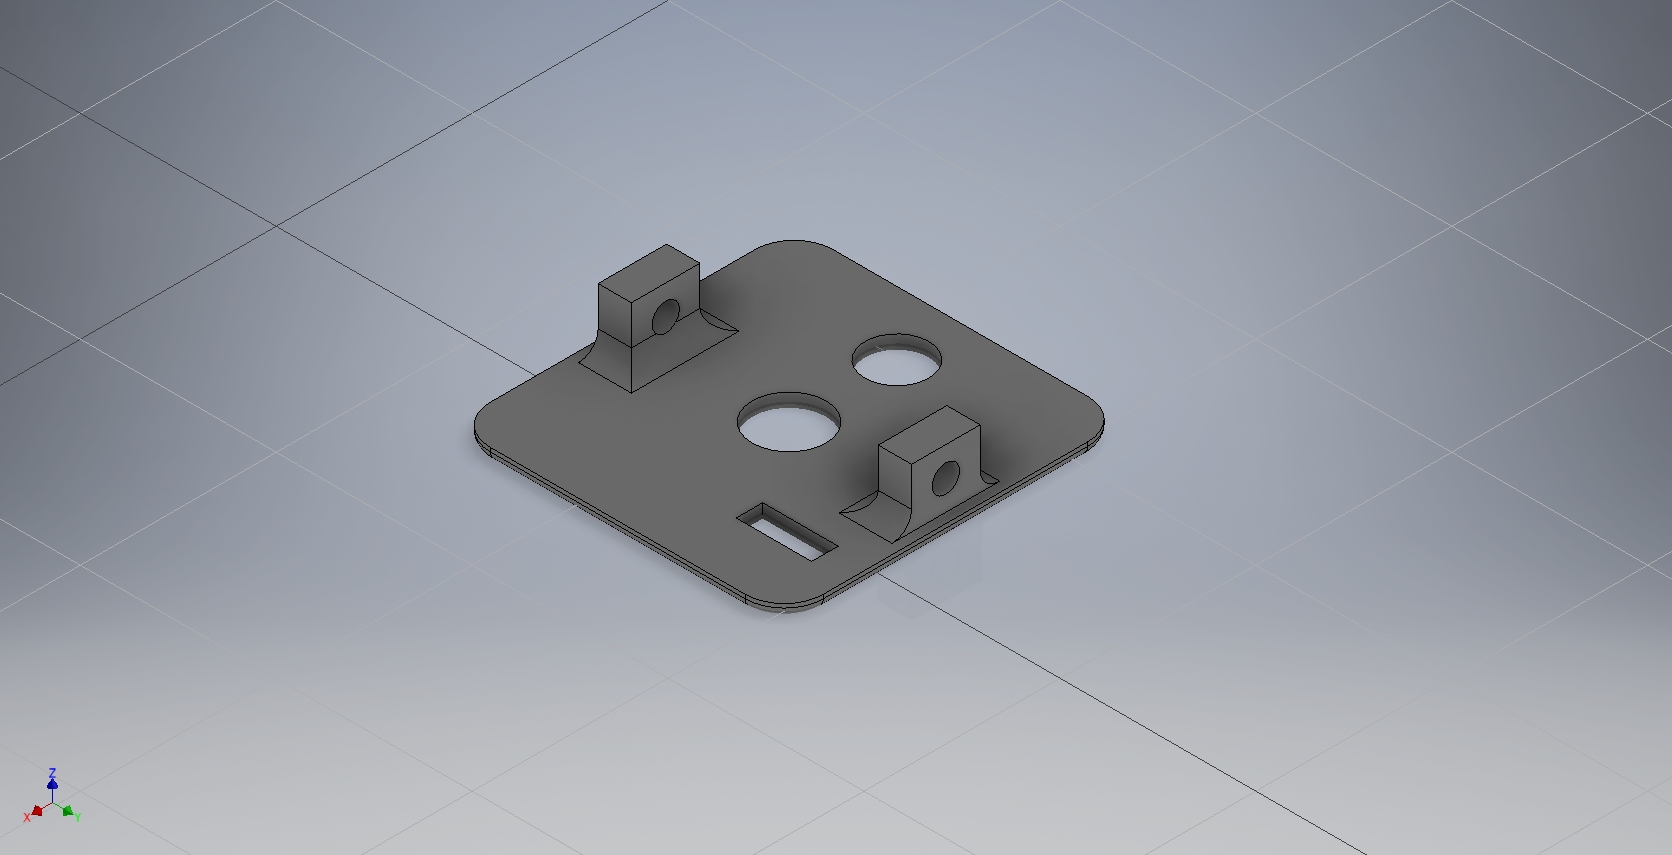
Die STL-Dateien könnt ihr auf Thingiverse herunterladen.
Code
Innerhalb von Arduino 1.8.2 entstand folgender Code. Nichts weltbewegendes, aber es kann über einen Knopf über eine Case-Abfrage der Modus geändert werden. Aktuell habe ich mal 6 verschiedene Abfolgen umgesetzt.
/*
  Powerbox for WS2812B
  Schwabenpilot.de - Buddinski88
  Version 1.0
*/

#include <Adafruit_NeoPixel.h>

// Digital IO pin connected to the Push-Button
#define BUTTON_PIN   6

// Digital IO pin connected to the NeoPixels
#define PIXEL_PIN    2

// Count of the connected NeoPixels
#define PIXEL_COUNT 66

// Informations from the Library
// Parameter 1 = number of pixels in strip,  neopixel stick has 8
// Parameter 2 = pin number (most are valid)
// Parameter 3 = pixel type flags, add together as needed:
//   NEO_RGB     Pixels are wired for RGB bitstream
//   NEO_GRB     Pixels are wired for GRB bitstream, correct for neopixel stick
//   NEO_KHZ400  400 KHz bitstream (e.g. FLORA pixels)
//   NEO_KHZ800  800 KHz bitstream (e.g. High Density LED strip), correct for neopixel stick
Adafruit_NeoPixel strip = Adafruit_NeoPixel(PIXEL_COUNT, PIXEL_PIN, NEO_GRB + NEO_KHZ800);

bool oldState = HIGH;
int showType = 0;

void setup() {
  pinMode(BUTTON_PIN, INPUT_PULLUP);
  strip.begin();
  strip.show(); // Initialize all NeoPixels to 'off'
}

void loop() {
  // Read current button state
  bool newState = digitalRead(BUTTON_PIN);

  // Check if state changed from high to low (button press)
  if (newState == LOW && oldState == HIGH) {
    // Short delay to debounce button
    delay(20);
    // Check if button is still low after debounce
    newState = digitalRead(BUTTON_PIN);
    if (newState == LOW) {
      showType++;
      if (showType > 9)
        showType=0;
      startShow(showType);
    }
  }

  // Set the last button state to the old state
  oldState = newState;
}

void startShow(int i) {
  switch(i){
    case 0: colorWipe(strip.Color(0, 0, 0), 50);    // Black/off
            break;
    case 1: colorWipe(strip.Color(241, 38, 205), 50);  // Pink
            break;
    case 2: theaterChase(strip.Color(127, 127, 127), 50); // White
            break;
    case 3: (50);
            break;
    case 4: rainbow(20);
            break;
    case 5: rainbowCycle(20);
            break;

  }
}

// Fill the dots one after the other with a color
void colorWipe(uint32_t c, uint8_t wait) {
  for(uint16_t i=0; i<strip.numPixels(); i++) {
    strip.setPixelColor(i, c);
    strip.show();
    delay(wait);
  }
}

void rainbow(uint8_t wait) {
  uint16_t i, j;

  for(j=0; j<256; j++) {
    for(i=0; i<strip.numPixels(); i++) {
      strip.setPixelColor(i, Wheel((i+j) & 255));
    }
    strip.show();
    delay(wait);
  }
}

// Slightly different, this makes the rainbow equally distributed throughout
void rainbowCycle(uint8_t wait) {
  uint16_t i, j;

  for(j=0; j<256*10; j++) { // 10 cycles of all colors on wheel
    for(i=0; i< strip.numPixels(); i++) {
      strip.setPixelColor(i, Wheel(((i * 256 / strip.numPixels()) + j) & 255));
    }
    strip.show();
    delay(wait);
  }
}

// Theatre-style crawling lights.
void theaterChase(uint32_t c, uint8_t wait) {
  for (int j=0; j<10; j++) {  // do 10 cycles of chasing
    for (int q=0; q < 3; q++) {
      for (int i=0; i < strip.numPixels(); i=i+3) {
        strip.setPixelColor(i+q, c);    //turn every third pixel on
      }
      strip.show();

      delay(wait);

      for (int i=0; i < strip.numPixels(); i=i+3) {
        strip.setPixelColor(i+q, 0);        // turn every third pixel off
      }
    }
  }
}

// Theatre-style crawling lights with rainbow effect
void theaterChaseRainbow(uint8_t wait) {
  for (int j=0; j < 256; j++) {     // cycle all 256 colors in the wheel
    for (int q=0; q < 5 /*3*/; q++) {
      for (int i=0; i < strip.numPixels(); i=i+3) {
        strip.setPixelColor(i+q, Wheel( (i+j) % 255));    // turn every third pixel on
      }
      strip.show();

      delay(wait);

      for (int i=0; i < strip.numPixels(); i=i+3) {
        strip.setPixelColor(i+q, 0);        // turn every third pixel off
      }
    }
  }
}

// Input a value 0 to 255 to get a color value.
// The colours are a transition r - g - b - back to r.
uint32_t Wheel(byte WheelPos) {
  WheelPos = 255 - WheelPos;
  if(WheelPos < 85) {
    return strip.Color(255 - WheelPos * 3, 0, WheelPos * 3);
  }
  if(WheelPos < 170) {
    WheelPos -= 85;
    return strip.Color(0, WheelPos * 3, 255 - WheelPos * 3);
  }
  WheelPos -= 170;
  return strip.Color(WheelPos * 3, 255 - WheelPos * 3, 0);
}
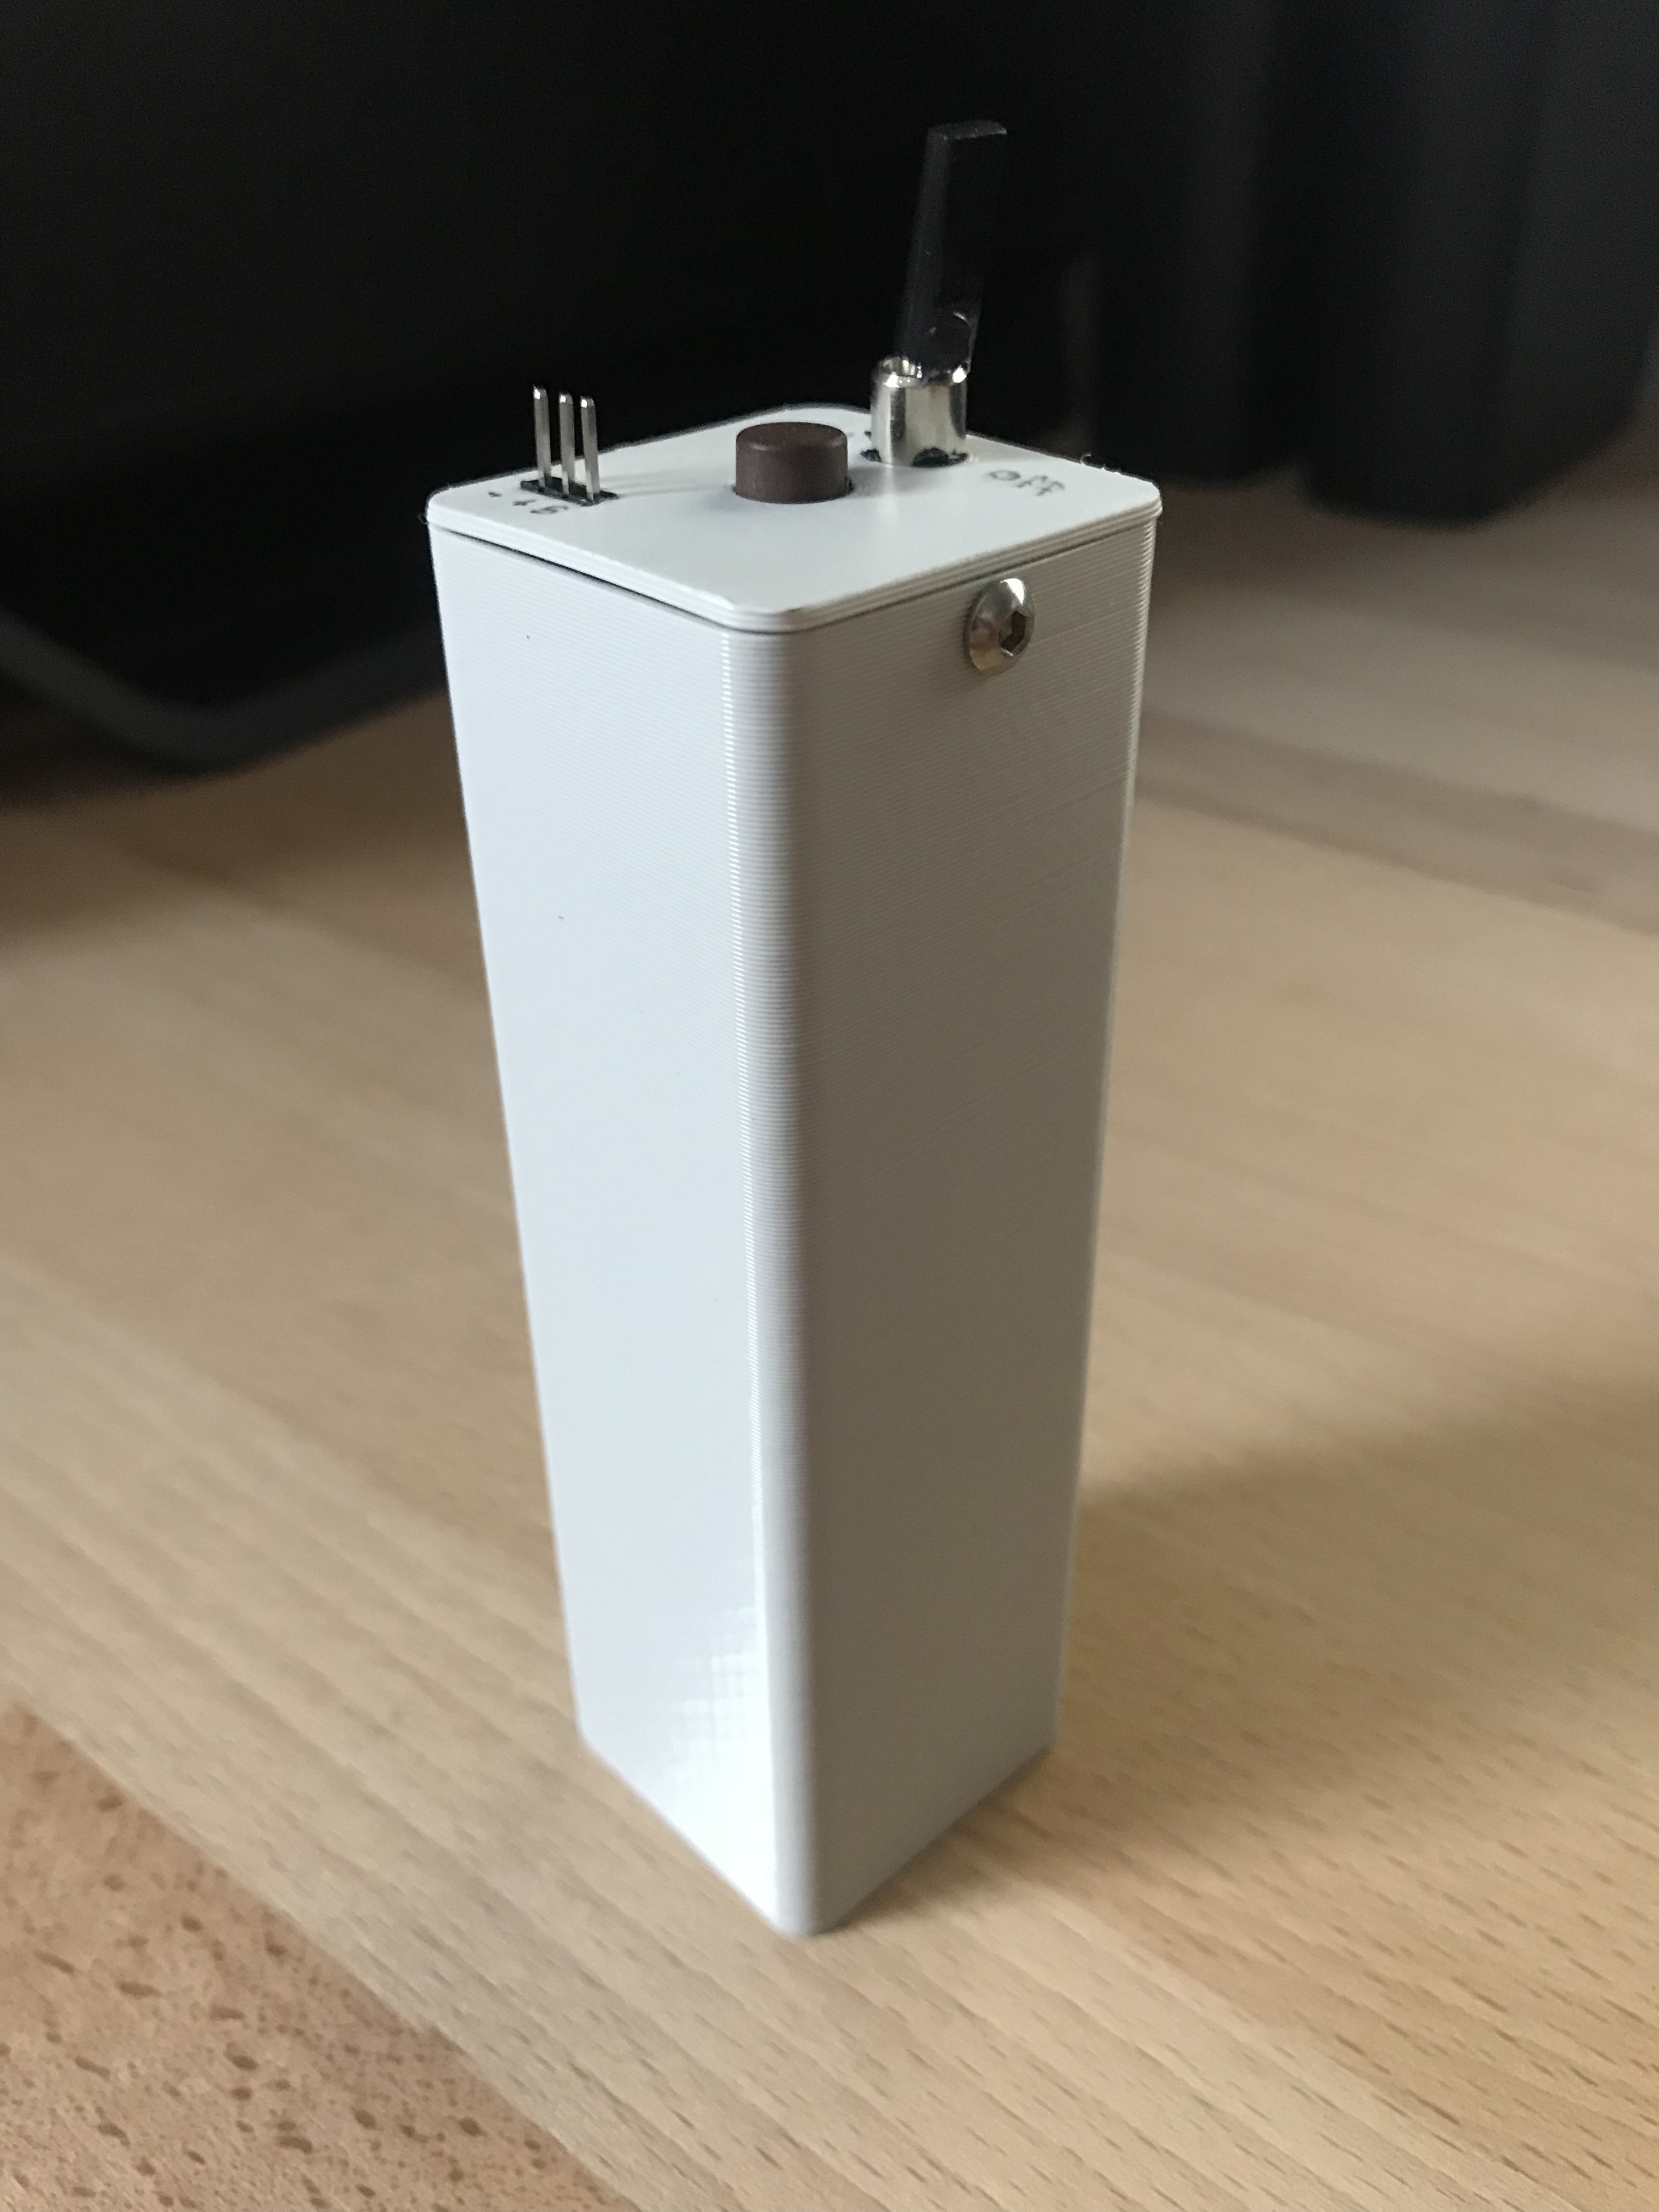
Endprodukt
Ein Schaltplan habe ich momentan keinen, aber wenn Bedarf besteht (Kommentare oder Kontaktforumular), dann werde ich diesen nachreichen. Mit Google findet man dazu aber genügend Anregungen.
Ausblick
Um die ganze Einheit wirklich unabhängig des Ortes verwenden zu können, habe ich bereits einige ESP8266 bestellt. Damit kann ich dann die Farben mittels App / Webinterface (da bin ich noch nicht sicher) steuern.
Außerdem werde ich das ganze noch etwas kompakter konstruieren um weniger Platz zu benötigen.